Showing posts with label Apartment. Show all posts

Wednesday, July 8, 2015

My Move & Thank You!


I wanted to start off today's post by thanking everyone for their kind words, encouragement, and prayers yesterday about my exam. I felt so loved! Unfortunately, I was one of the 55% who fail. Of course, I'm so disappointed. I've worked really hard and put a lot of time in but instead of testing God, I'm trusting him. He has a lesson he still needs to teach me through all of this. In a little over a month, I get my second try at taking it. (My company gives us 2 tries) Time to do work.

So on to today's scheduled post. I wanted to give a little background about my move for those who just "met me." My About Me section is a little lackluster because it feels a little uncomfortable to just talk on about myself. I'm more of a story teller. So here's my Charlotte move story.

I was born in Raleigh, North Carolina. I don't really remember Raleigh very much. I moved to Irmo, South Carolina when I was 4 years old and lived there till I moved to college at 18. Irmo is my home and always will be. When someone asks me where I'm from I always say South Carolina.

Then I moved to Clemson, South Carolina for college. The best 4 years of my life! Clemson is a small town that wouldn't have much without the University. It is small, safe, familiar, and my second home. I love Clemson and I hope to visit for years to come but it isn't somewhere I would want to settle down.

Senior photos with my girlfriends!


My senior year I started the mind-numbing  fun process of looking for a job for after graduation. I didn't want to limit myself to a particular area but in the back of my mind I had 2 ideal locations: Greenville, South Carolina & Charlotte, North Carolina. I mostly liked the idea of living in a bigger city than I was accustomed to but still maintaining the southern feel I adore. Both of these cities fit that bill. 

 I received a job offer in Chicago but in my heart I knew it wasn't the right fit for me so I turned it down. Then I got deep into the interview process with 2 companies ironically located in Greenville and Charlotte. When it came down to it I knew the job in Charlotte was better for me long-term so I accepted the offer in January of my senior year.

After I accepted, I mentally moved to Charlotte. I was constantly thinking of things I can do there, how to meet new people, looking at apartments, searching for a roommate, looking for furniture, etc. I was so excited about living in an actual city and really having a fresh start while still being close to home!

Charlotte skyline...love!
And just for fun...here's my apartment building from the outside. I absolutely love it!

Camden Southline

So less than a week after graduation I moved to Charlotte to get settled before I started my job. So here I am. In the Queen City. I can't wait to see where my new home will take me. And just for fun here are a couple pictures from graduation...


 photo signature_zps061a4d79.png

Monday, June 29, 2015

Accidental Chalk Paint Planter


Good morning! I'm excited to show you my new DIY planter.

This planter was kind of an accident. I started out with the idea to create something sort of like this...


...but ended up going a different direction. 

Let me start at the beginning. I bought this great ceramic planter for less than $4 at Target. I didn't know what I was going to use it for right away but my crafting wheels were turning and I knew I would figure something out. 

Then I decided to take my own spin on the Anthropologie planter by painting it a light gray color and using my gold leaf paint for some accents. 

I even took pictures of my plan...


...and pictures of me trying to create my perfect gray color...


but something wasn't working. I noticed that my black paint was really runny and not mixing well with my white paint. I shook the bottle and tried again to only realize that I was using CHALK PAINT!! How does one make that mistake? Must've been divine intervention because I then knew exactly what my planter was going to be...


...a chalk paint planter!! How simple and easy! You only need the planter, a sponge brush, and chalkboard and bam you have a cute planter that can be customized whenever you like.

I started off by dipping my sponge brush in my chalk paint and painting the entire planter with vertical strokes. 


Then allow that to dry for at least an hour before painting it with horizontal strokes.

**Don't you just love my Bare Essentials box haha! It's such a great box to store my paints in :)**


Allow the planter to curate for at least 24 hours. I let mine curate for several days because I went out of town. 

Afterwards, it was time to season it. I would make sure to do this over a cloth or sink because it can be messy!


Follow a similar pattern to painting the chalkboard paint and start off by running the chalk in horizontal strokes all over.

Side note: I know the inside isn't real cute but I knew it was going to have soil in there so it wouldn't really matter!


Then use the chalk vertically in the same strokes.


Then use a soft cloth or chalk eraser to remove all the chalk. There was a little leftover chalk dust so I squirted a tiny bit of Windex on a cloth and wiped it down. If you do this, let it dry thoroughly before writing on it. Like my mama says...Windex fixes everything!

Then I picked out my plant and planted it!


I love a good cactus or succulent plant! It adds such a pop to decor while not requiring more maintenance. What do y'all think? I hope you love this Accidental Chalk Paint Planter as much as I do :)

Have a great day!

 photo signature_zps061a4d79.png

Monday, June 15, 2015

Bedroom Inspiration


I love decor and decorating but have never really had an outlet to decorate. When I moved into my apartment and had the opportunity to decorate from scratch I was thrilled! To me, the most important part of my bedroom was the bed. 

My theme for my bed was neutral with feminine touches and lots of textures. I wanted my bed to be relaxing and comfortable, like a hotel room. You spend a third of your life sleeping, why not have a comfortable bed???

Here were some of my inspirations for my bedroom: 

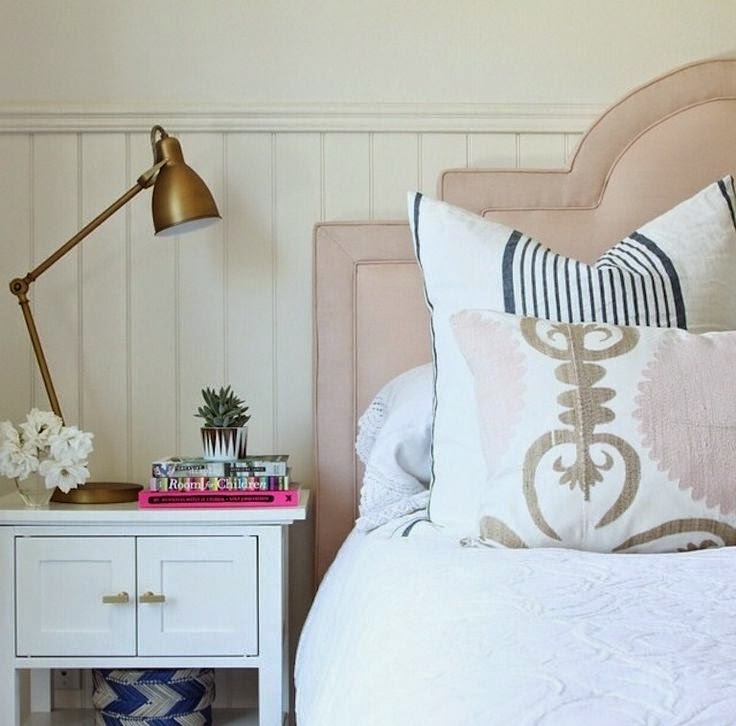
I love the headboard, animal print, & gold lamp that pops with the neutral comforter.


I love the neutral textures in this one. 


This really captures the feminine aspects I wanted. 


How my room is arranged it's hard to get a good picture of my bed but here are a few...


Source List

1. Comforter (Similar)
2. Quilt in taupe
3. Shams

I love how it all came together. It definitely encompassed what I was looking for in my new room. What are some features you like in decorating a bed?


 photo signature_zps061a4d79.png

Wednesday, June 10, 2015

Anthropologie Hack Coasters


I don't take it for granted how fortunate I am for my beautiful apartment full of my dream furniture. My parents, for my graduation gift, helped me out with furniture and I couldn't be more thrilled with how it all came together.

That said, with all this beautiful furniture I knew I needed to add decorative accessories that would complement my design while still sticking to my Post Grad budget. I spent many hours searching stores and websites looking for the perfect accessories.

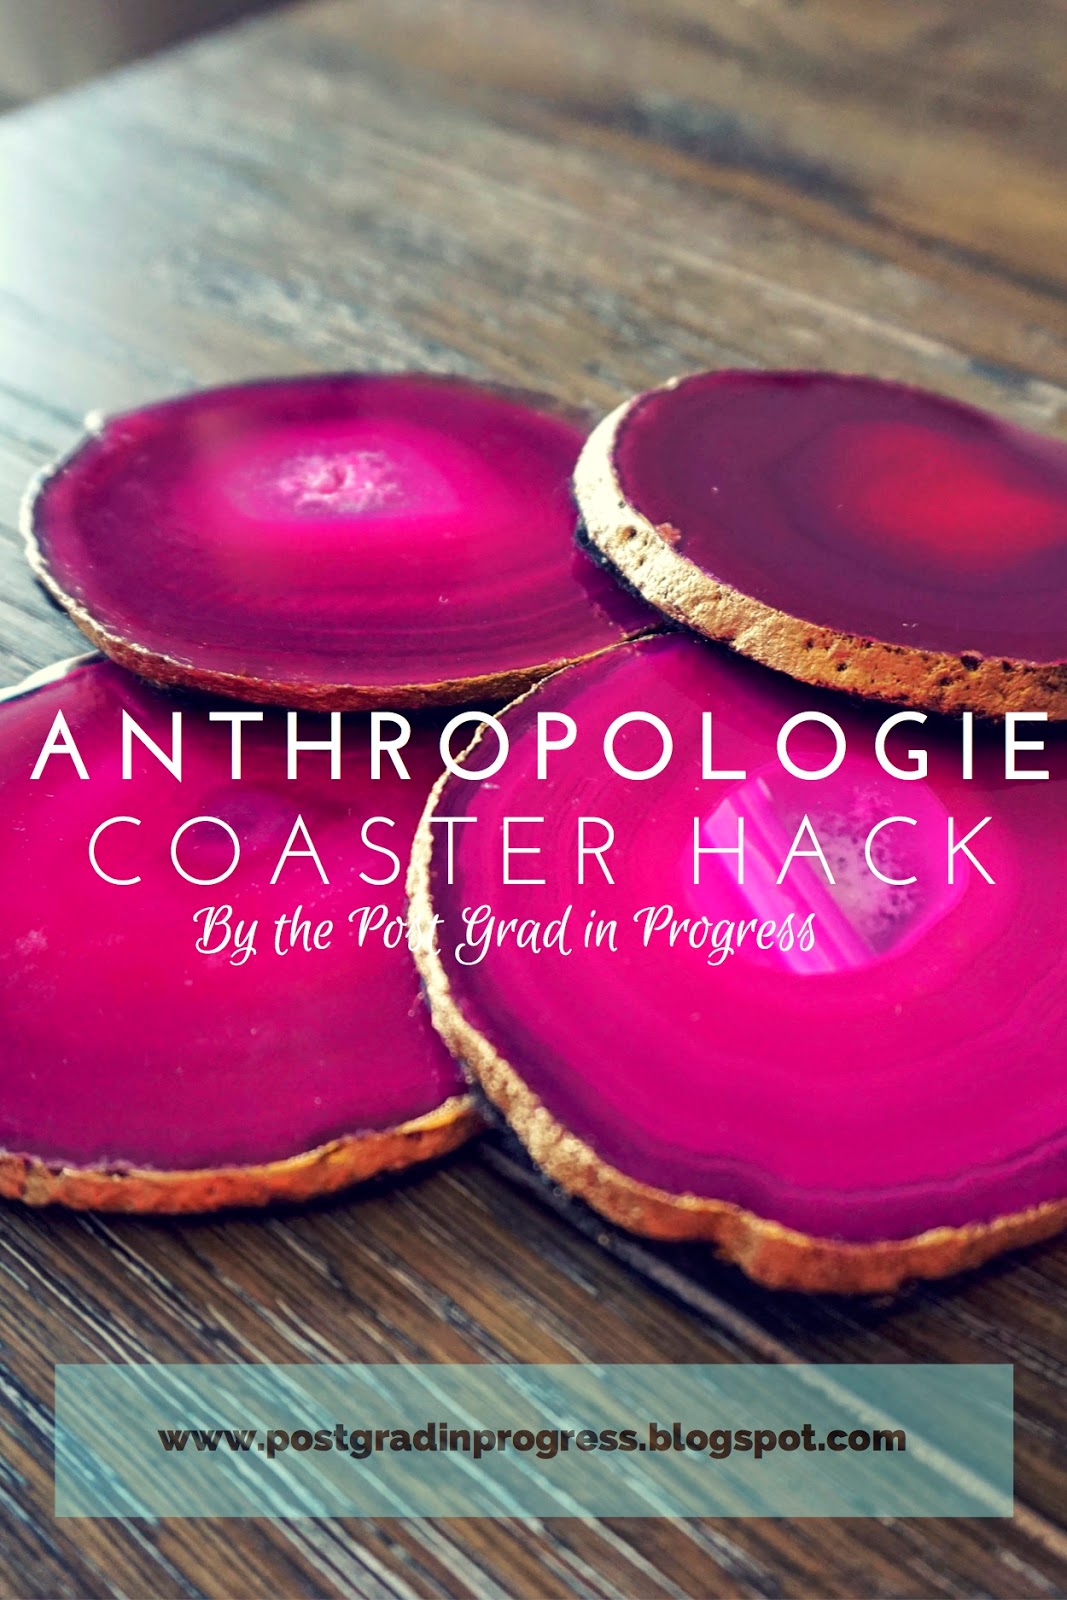
Some of my favorite decor inspiration came from Anthropologie. I love the unique look that Anthropologie products have. One item I fell in love with was the Gilded-Edge Agate Coasters. I love Agate stones and I love pops of gold so naturally, these coasters caught my eye.

Anthropologie Gilded-Edge Agate Coasters...gorg!

But as much as I adore Anthropologie...I hate the price tags. The coasters that I already knew I needed were a whopping $98...ouch. That is definitely NOT in my budget. But my crafting wheels in my head started turning and I knew I could create these on my own.

I am an avid fan of Etsy so that was my first stop to find the Agate stones. I found this great shop that had great stones for the most reasonable prices. The price of the stones plus shipping was around $30, which is a lot more reasonable if I do say so myself.

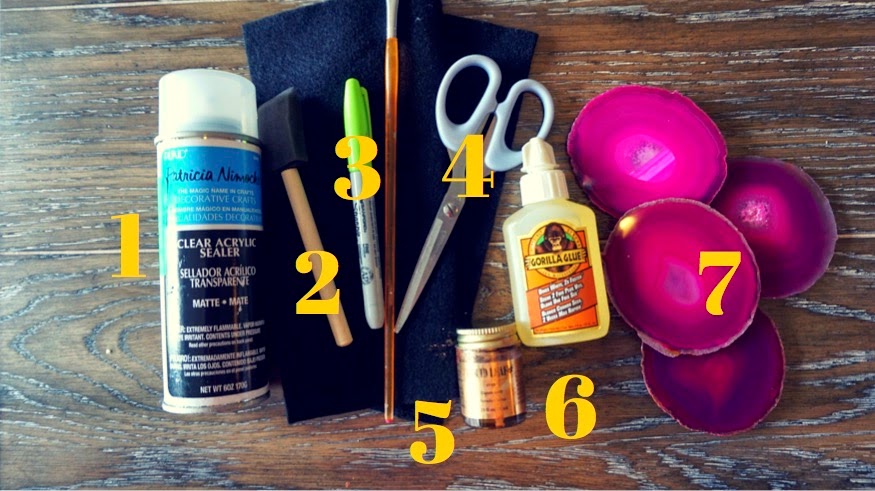
In my craft supplies I had all the other things I needed.


1. Acrylic setting spray
2. Paint brush
3. Sharpie
4. Scissors
5. Gold leaf paint
6. Super glue
7. Agate stones
**Forgot to label the black felt that is under 2, 3, &4**


I first off started by tracing the coaster onto the felt using my sharpie.


Then cut the felt out. 


Next, I covered the agate stone with super glue and placed the felt on the stone. Press down hard once you place the felt on the stone to ensure it sticks. 


 Take your paint brush and dip it lightly into the gold leaf paint to paint the edges of the stone. Don't worry too much about making it perfect because the gold leaf can be scrapped off with your nail. Then seal it all together using your acrylic spray.

And you're left with such cute (and inexpensive) coasters!


If you really don't feel like DIYing or want more coaster inspo here are some of my other favorites

One Kings Lane 34% off!


I hope you love these coasters as much as I do! I would love to hear what you think. Hope you have a great day!


 photo signature_zps061a4d79.png